
Sometimes it’s good to start with the basics, and weapons are useful ways to help you learn. Models do not need to be complex or detailed in order to be effective: all you need is a real-world reference to begin.
In this instance, we’ll be creating a simple weapon with a low poly count and some textures. While it might be tempting to work on weapons with many elaborate details and parts, it is important to be able to build your skills up with the bread and butter stuff as well.
I'm assuming that you have a basic familiarity with Blender's modelling and texturing features - if you don't, then consider trying out the Blender course.
Just so you know, I am no expert. This is as much for my benefit as it is for yours, as I only really got started with 3D modelling in a game jam back in January this year (which seems like such a long time ago now...). That means I might do something which you think you can improve on or would do differently. If you think I can improve, let me know – but equally, I hope this encourages other people to take part and learn through doing.
Feel free to also share your work on the GameDev.TV discord, as well! Instead of a sword, you might want to create another type of weapon. Let your imagination run wild, but try to keep the poly count low – these are the type of objects that shouldn’t be taking up a lot of memory.
Get a reference

A quick Google search with usage rights allowed me to find this image. You don’t have to adhere to copyright if you’re using things for your own personal projects, but I played it safe for this tutorial.
I decided to play it safe and use a realistic sword reference as opposed to a high fantasy one, but depending on your skill level you might want something a bit more in-depth.
Once you’re ready to model, adjust your view to the X, Y or Z axis and import your image to Blender.
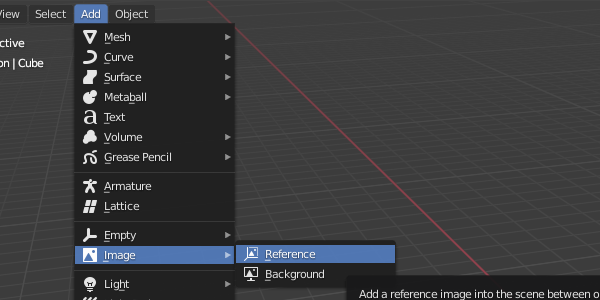
Afterwards, it’s time to begin constructing your model while following your reference!
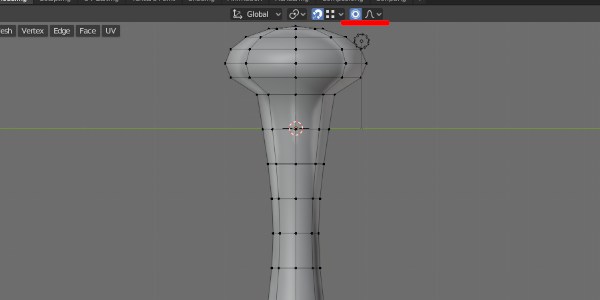
Most of my work started off from one cylinder with eight vertices and then extruding downwards. I used a number of techniques from the Blender course, so refer to that if you have trouble. Remember to use loop cuts to ensure that you can add some curves to your model, and to ensure textures are not too stretched later on.
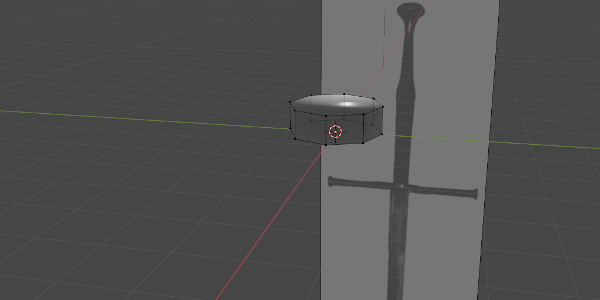
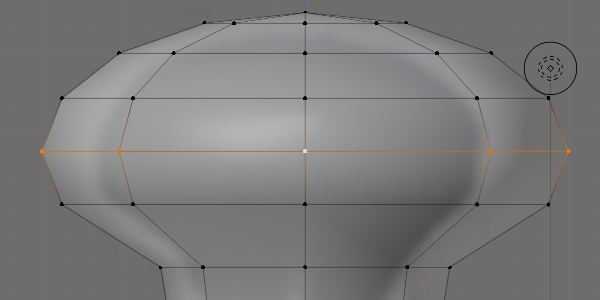
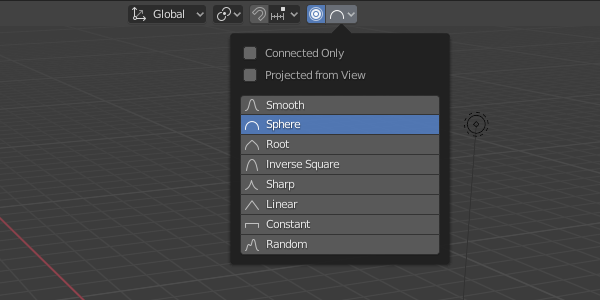
To achieve the curve in the handle, I used the Proportional Editing button to curve several loop cuts at once in proportion to my initial selection's position or scale. This is a useful way to add some natural curve in models - I found this to be a quick and easy way to create the pommel, as well.
By reducing the scale in the X and Y axis of the central loop cut (using shortcut keys S and then shift + Z), the others are 'dragged' along to create a small curve.
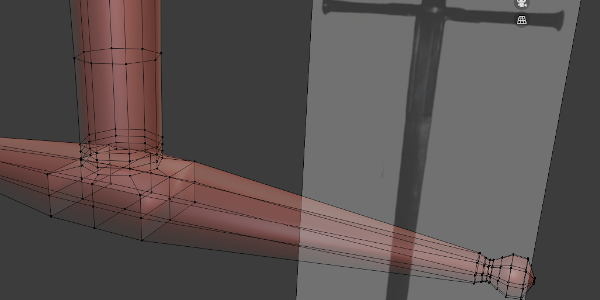
Working downwards, I added another cube below the handle of the blade with two loops cuts to join up with the cylinder's eight vertices. I was then able to create two smaller 'handles' in a similar way to the way I created our handle and pommel.
While working, it is useful to use a clay MatCap for the viewport shading - this is a useful way of identifying any potential issues with how faces interact with each other as you continue modelling.
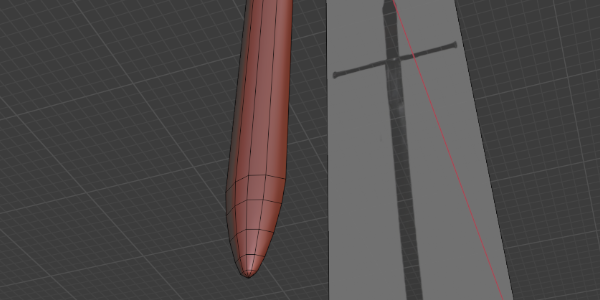
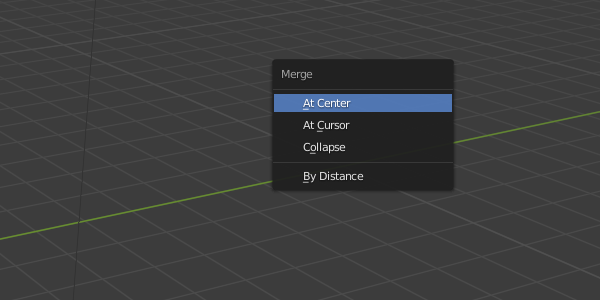
For the blade, I simply extruded down as far as needed, with the tip of the blade joining the vertices together using shortcut key M to merge vertices.
I think I could have added more loop cuts here, but this is up to you to change if needed.
Also, I decided against adding grooves in the blade in an attempt to keep this simple, but you may want to do that for your own weapon. If you prefer, you can add details like this later when it comes to texturing your model.
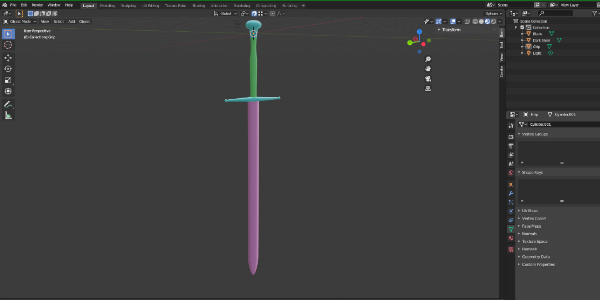
I created three blank materials for the maps to use: one for handle textures, one for the grip, and one for the blade itself. They are coloured accordingly above.
I’ve split the model into three separate meshes so there will be three separate UV maps in play.
Once you’re done with the modelling, remember to use Smart UV Project to ensure the UV map is correct. Remember also to check your normals and to clean up your meshes by merging vertices and deleting loose geometry.

After that, it’s time to add some textures! Before starting, try to keep in mind what sort of story you want your textures to tell. Do you want the sword to be old and rusted, or new and shiny? Do you want some blood specks remaining on the blade, or scratches along the edge? It's good to keep in mind how an objects might change as it is being used or as time passes by to add authenticity to it.
I’m going to use a Substance Painter trial because I prefer to use the interface over Blender’s system, but you can use what you like for this bit.
Texture maps really confused me at the start of using Blender, especially when it came to baking texture maps. In this case, the only ones we’ll really need are the metallic, roughness and height maps. Substance Painter allows us to turn height map data into normal map data, but in Blender you can use bump map nodes to achieve the same effect.
If you're using Blender, the Color Ramp node will be your best friend, alongside the Math node to combine with other textures. Unfortunately, to my knowledge, Blender doesn't use layers to apply textures. This is why I choose Substance Painter - the UI, for me, is easier to use.
Layering textures is a good way to make things look a little more realistic, and I usually had around 4 to 5 layers per material here.
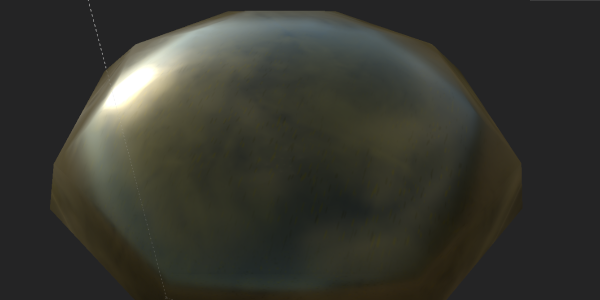
As an example, we'll focus on the texture for the bottom of the sword.
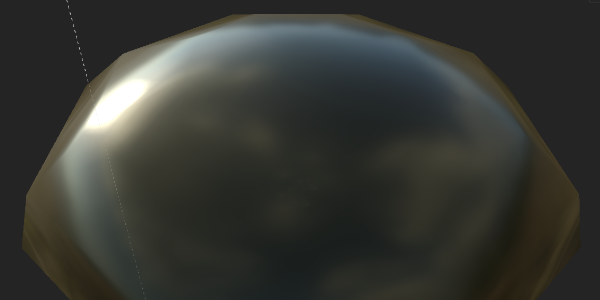
I start by applying a gold colour and a Roughness value of 0.2 and a Metallic value of 0.8.
I then add two layers of metallic 'flecks' to add some variation to the colour.
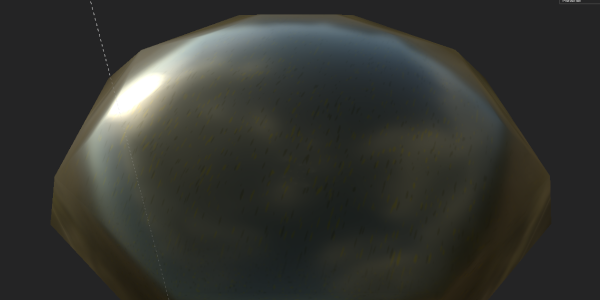
The next layer adds a large and faint grunge-style effect to the blade that affects the colour and roughness and metallic values by 0.3 and 0.7 respectively. Substance Painter comes equipped with some ready-made grunge effects to apply, or you can find some brushes to use within Blender to apply.

Following that, a more detailed mask adds some smaller and more pronounced nooks and marks that are darker in colour and affect roughness values by 0.6.
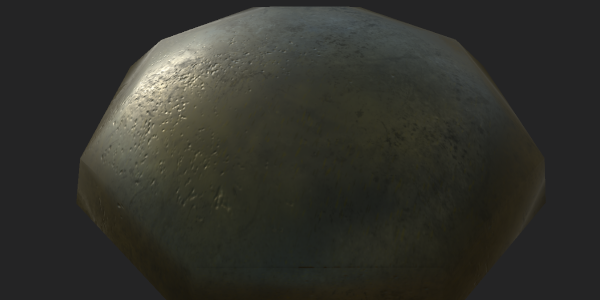
Finally, I add some indents to 'age' the material by adding height map information and a darker gold colour.
A similar method is used for the blade and the handle: for the blade, it is helpful to use Blender's Pointiness attribute of the Geometry node to exclusively select the edges of models to apply some scratches, grooves and dents to the edges of the blade.
I will leave the blade to you, but here is what I did with the handle:
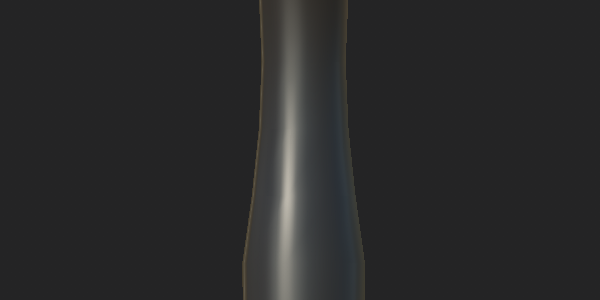
I start with a basic colour and a relatively high roughness number.
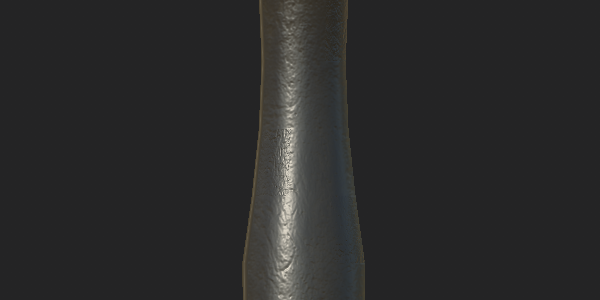
Using height map info, I add some grunge style editing - something I did with Substance Painter. Blender's Noise texture mixed with another node may achieve a similar effect.
I used a paint tool to draw lines straight across the middle of the handle, and ensured that symmetry was turned on so it was applied on both sides of the model. These lines affect the height info of the model.

I add another layer of grunge to help age the material a bit more, and then another layer of lines - more spaced out and wider than before.
Once we’ve applied our textures, we need to bake them before exporting to the engine of your choice. You might, in some cases, need to convert your model to another format - for example, if you wish to use your model within a game engine like Unity.
Congratulations! You now have a weapon asset to use for whatever you want. I'm quite happy with this, but I know there are things I can improve on for next time - I'd like to add a groove, or some smaller intricate details. At some point, I'd also like to add extra model detail like gemstones or runes.
Drop your results in the GameDev.TV discord and show off your work – it would be great to showcase the community’s results.