
One of the most requested features students ask for while taking the RPG course is how to implement a rotating camera. While going through the course myself, once we reached the lecture for "Creating a Cinemachine Follow Camera", the resulting camera was great, but sometimes I wanted to zoom right down on my character and appreciate the art from GameDev.tv partner Synty and the code systems I learned to build. I immediately implemented a zooming script and posted it for other students. Knowing I also wanted to be able to rotate the camera to view the action from any angle, I mentioned that I would circle back to that same lecture and post how to create a rotating camera as soon as I figured out how to do it.
Here is how I did it.
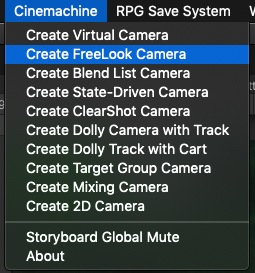
- Open the Cinemachine menu in Unity and create a free look camera.
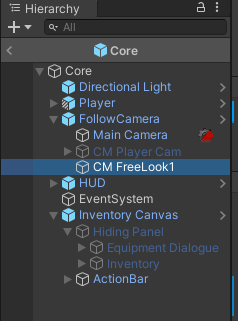
- Add the free look camera to your Core prefab (or camera prefab if you have one, here you can see I disabled my old follow camera from that lecture and now use the free look)
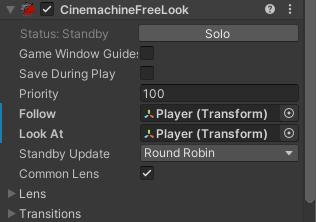
- Make sure your fee look camera has a higher priority than anything else, like maybe 100 or something obvious, and assign your Player prefab to the "follow" and "look at". (Remeber to override this priority with your cinematics if you have any.)
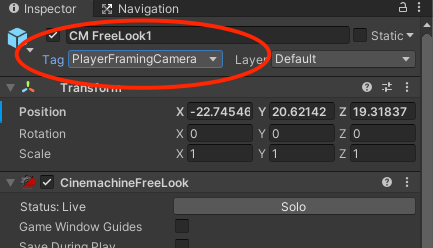
- I will be sharing some code below that will look for this camera by it's tag. You can change the tag on the camera and in the code to anything you want, but if you want to just copy and paste the code, make sure to tag the camera “PlayerFramingCamera” as that's what I used in the below scripts I will share.
I'm going to share some settings to get you started with setting up the free look camera. For those of you who want to learn more about what these settings do, refer to Unity's video on the free look camera.
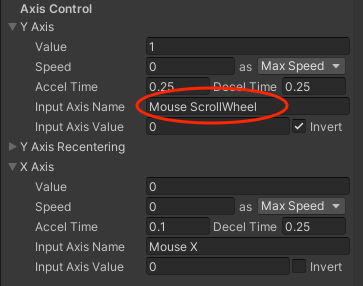
- In the Axis Control section of the free look camera, match your settings to the suggestions in the image below, inverting the X and Y axes to suit your play style. (Challenge: Allow the user to change the X and Y invert options in game in a settings menu!)
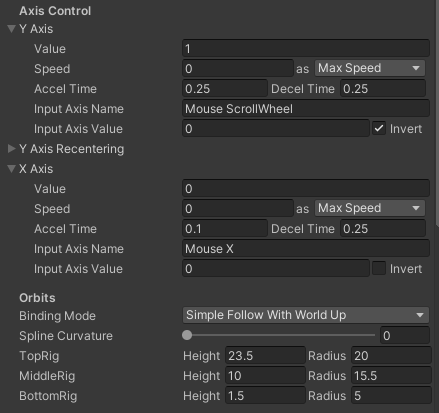
- Open the rig settings and scroll down to the bottom rig and apply this suggested setting.

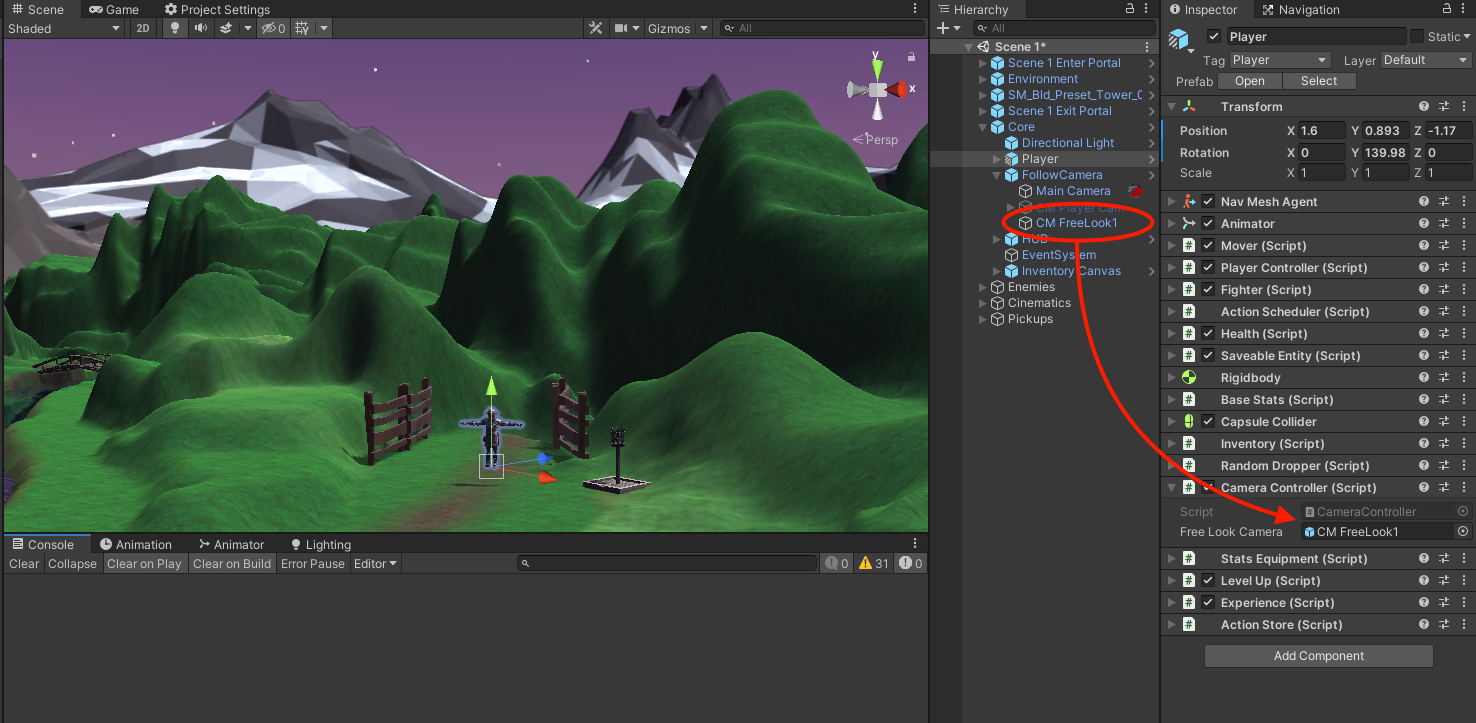
- Now it's time to attach the following script to your Player Prefab. The name must match the class for Unity to compile correctly so name the script CameraController. (This script is in the namespace RPG.Core, but you can change this or delete this to suit your needs, just be aware of it and how it applies to your code's architecture.)
using UnityEngine;
using Cinemachine;
using RPG.Control;

namespace RPG.Core
{
    public class CameraController : MonoBehaviour
    {
        [SerializeField] GameObject freeLookCamera;
        CinemachineFreeLook freeLookComponent;
        PlayerController playerControllerScript;

        private void Awake()
        {
            freeLookComponent = freeLookCamera.GetComponent<CinemachineFreeLook>();
            playerControllerScript = GetComponent<PlayerController>();
        }

        private void Update()
        {
            if (Input.GetMouseButtonDown(1))
            {
                if (playerControllerScript.isDraggingUI) return;

                // use the following line for mouse control of zoom instead of mouse wheel
                // be sure to change Input Axis Name on the Y axis to "Mouse Y"

                //freeLookComponent.m_YAxis.m_MaxSpeed = 10;
                freeLookComponent.m_XAxis.m_MaxSpeed = 500;
            }
            if (Input.GetMouseButtonUp(1))
            {
                // use the following line for mouse control of zoom instead of mouse wheel
                // be sure to change Input Axis Name on the Y axis from to "Mouse Y"

                //freeLookComponent.m_YAxis.m_MaxSpeed = 0;
                freeLookComponent.m_XAxis.m_MaxSpeed = 0;
            }

            // wheel zoom //
            // comment out the below if condition if you are using mouse control for zoom
            if (Input.mouseScrollDelta.y != 0)
            {
                freeLookComponent.m_YAxis.m_MaxSpeed = 10;
            }
        }
    }
}
This script will detect whether or not you are holding down the right mouse button. It then gives you access to dragging and moving the camera on the X axis. Zooming with the mouse scroll wheel is baked into the free look component, but you can also use the Y axis of the mouse to zoom in just by uncommenting the Y axis line and making sure you change the Input Axis Name in the free look component to "Mouse Y" where you see "Mouse ScrollWheel".
- Now that the CameraController script is attached to your Player Prefab, be sure to drag the free look camera into the Serialized Field for the camera game object variable.
- There are two things to keep in mind when adding this rotating camera to an already existing RPG developed from the RPG course.
- This setup is to retain left mouse for actions / right mouse to rotate camera. If you want to change this, these are the scripts you will need to edit, replacing GetMouseButtonDown(0) with the mouse button of your choice.

Be sure to change the mouse button in the CameraController script accordingly.
- The script we developed to get enemy health bars to face the camera at all times will break, namely CameraFacing (the last tab in the picture above). You can see the result by playing the game right now. A keen eye will notice that the free look camera never rotates... on a rotating camera...
To fix this, replace the code on the CameraFacing script with this (also keeping in mind the namespace). This is the code you can either change the tag it looks for or make sure you tag it "PlayerFramingCamera" as discussed above.

using UnityEngine;
using Cinemachine;
namespace RPG.Core
{
public class CameraFacing : MonoBehaviour
{
[SerializeField] CinemachineFreeLook playerFramingCamera;
private void Start()
{
playerFramingCamera = GameObject.FindGameObjectWithTag("PlayerFramingCamera").GetComponent<CinemachineFreeLook>();
}
void LateUpdate()
{
transform.LookAt(2 * transform.position - playerFramingCamera.transform.position);
}
}
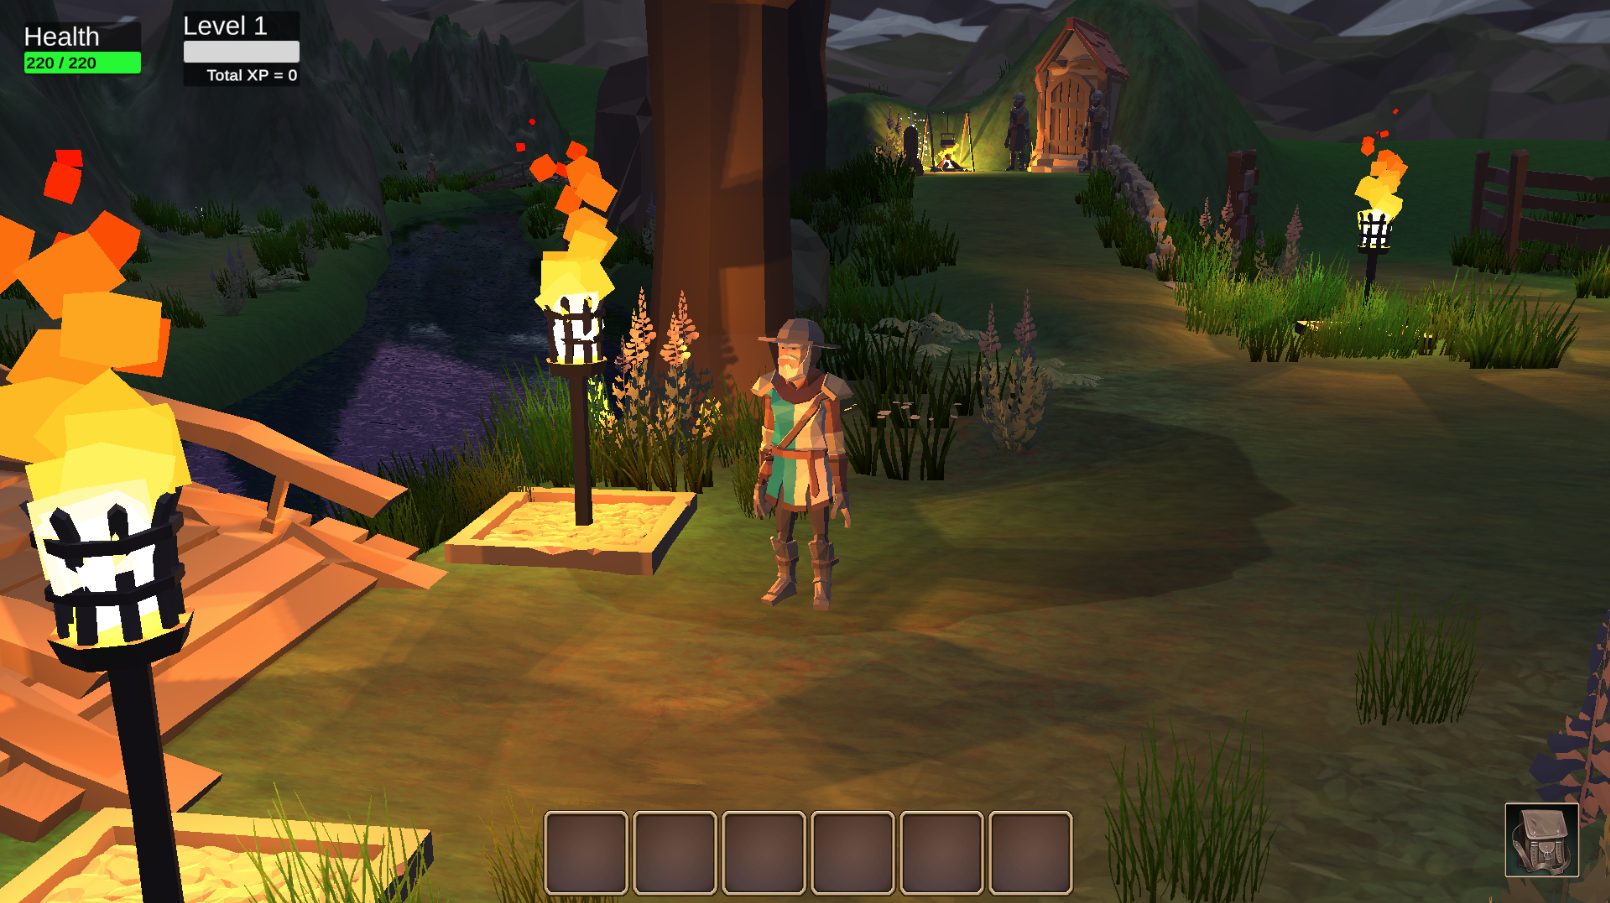
}BOOM… You’re a Rock Star. Or at least your player will be.
You can zoom RIGHT DOWN in there and admire all your lovely art (or Synty's) and see far off in the distance at the same time, almost like a 3rd person shooter's perspective. Or scroll up and get a GRAND bird’s eye view of all the action and lots of environment.
With endless permutations, the end result will be up to you or your designer.
Have fun tweaking this!