
Welcome back to character creation! This is part 2 of my blog series, which I call, “Introducing Character Creation!”. In the previous blog, we left off at step 3, and now we’ll start this blog at step 4!
Step 4: Draw Sample Character Designs
This is where we draw various designs of our character, review them, and decide which one we like best. Usually, we draw a few character designs, but sometimes, we can end up drawing many more. Be patient, and have fun!
You can draw the designs in a sketchbook and scan them into your computer, or you can use an electronic pen tablet and design software. Personally, I like to use my sketchbook. I draw a very rough sketch, scan it into my computer, and then, I edit and finish my designs with my pen tablet. My favorite digital drawing software programs, which I use for this process, are Krita and Adobe Photoshop.
Step 5: Draw Character Turn-Around Sheets
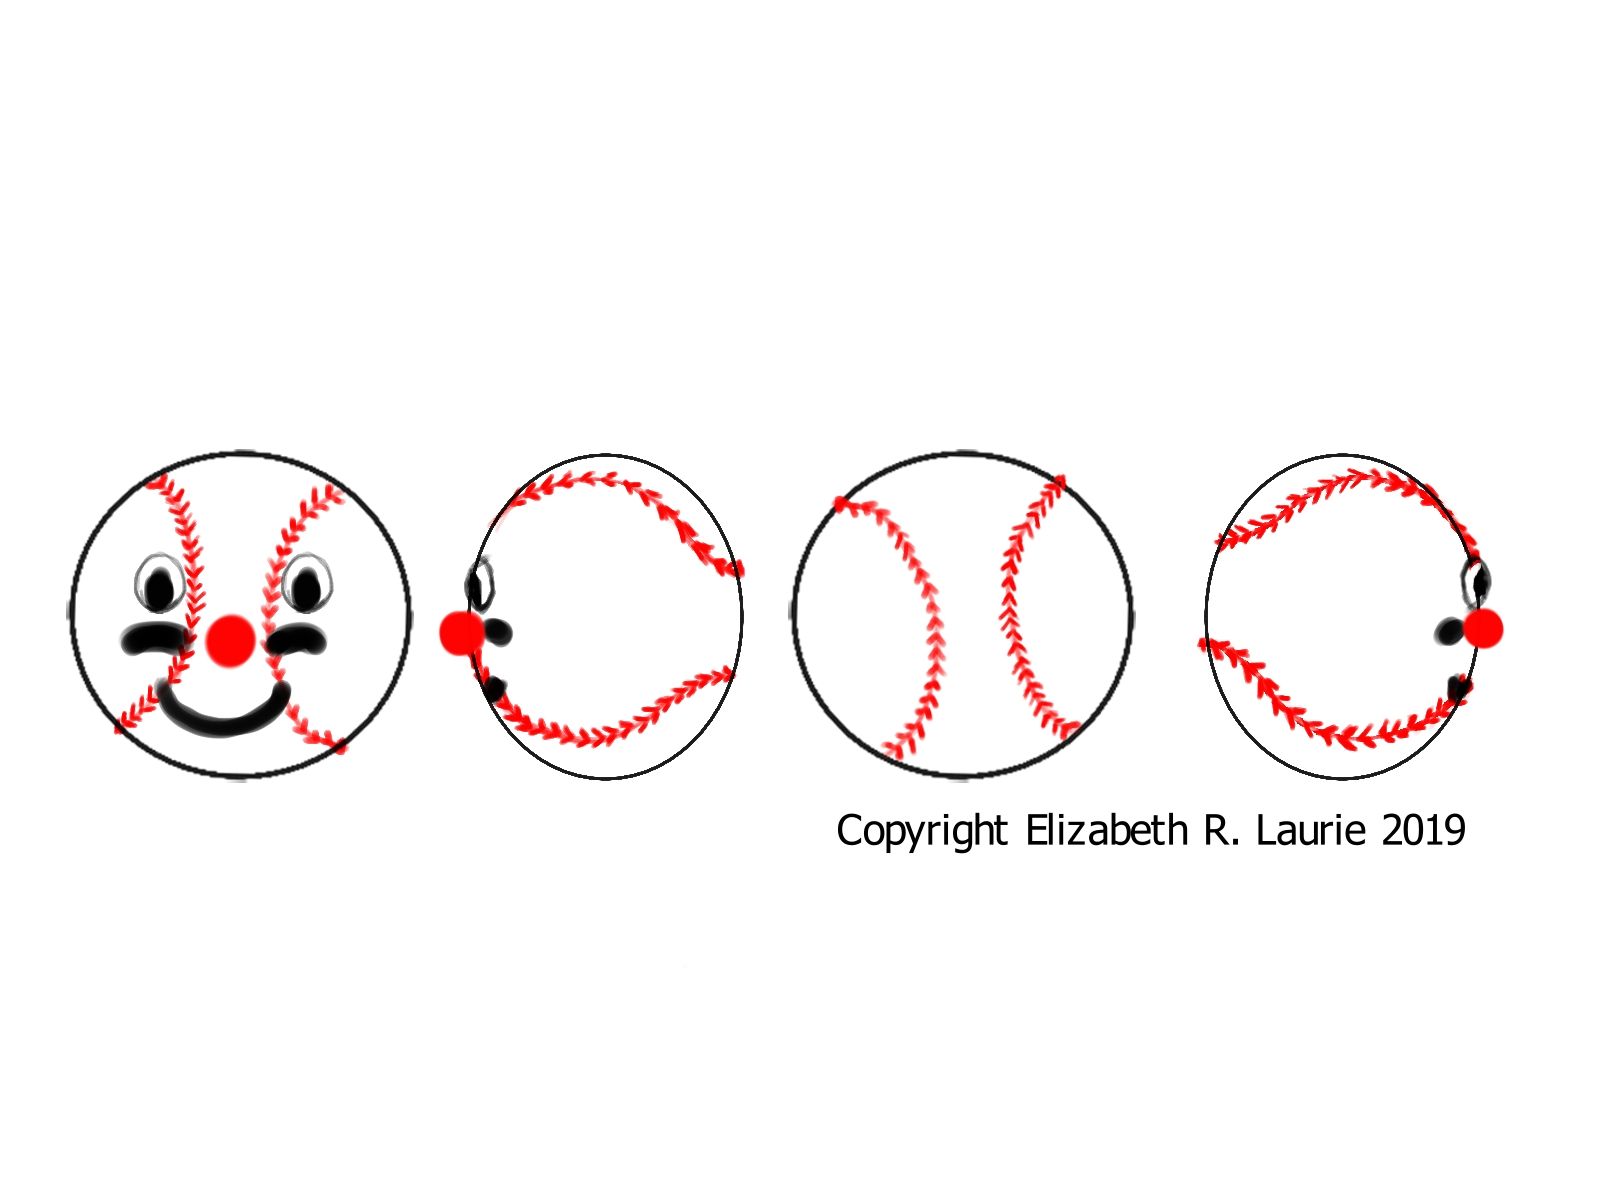
A turn-around sheet shows the character from the front, back, right-side, and left-side. If you have details from other angles, you can draw the character partially turned so those details are visible.
Traditionally, characters are drawn in a T Pose or A Pose. The T Pose shows the character with the arms extended straight out, to the side, and the A Pose shows the character with his or her arms partially extended.
Turn-Around Sheets are very important, and if you save them as digital images, you can import them into Blender’s 3D model building environment. Save a drawing of each pose of your character as a separate image. For instance, save the front pose as an image, save the right-side pose as an image, etc.
The main image for this article, shown at the very top, is an example of a simple Turnaround Sheet.
*Here’s how some 3D artists use Turn-Around Sheets: *Import each image into blender, and so long as you have your settings right, you can use these images to build your character. While you are building your 3D model, you can align the vertexes and edges with the outlines of the character images. You can do this from the front, back, right-side, and left-side, using Blender’s Orthographic Camera views. This is basically tracing, in 3D!**
If you want to learn the details of how to do this, Michael Bridges has an awesome course, which will teach you all of this and more! Here’s the link to his course, The Complete Blender Creator.
What’s Next?
Yes, there’s more! There’s another step, which some studios prefer to do before the 3D model is built and that’s to sculpt a model of the character. During this phase of character creation, the artist sculpts a clay maquette of the character. In the near future, I will cover character maquette sculpting in another blog.
I have really enjoyed talking to you about character creation! If you have any questions or ideas you want to share, please feel free to post them in the comments section below.
A word of advice before I go! As one of my favorite instructors, Professor Alexander, always said, “Save early! Save often!”. I’ve found it’s easier to do that, than have to mourn over lost data.
Have an awesome day! See you next blog!
The Featured Image was drawn by me and is Copyright Elizabeth R. Laurie, 2019.
About the Author
Hi, my name is Elizabeth Laurie! I’m currently studying the Blender Character Creator course, and I’m having fun learning new things!
I picked up my first coding book when I was 8 years old, but I was frustrated about the fact that the author didn’t explain how the code worked, and I was even more frustrated when the graphics on the screen were so bad. I went through 4 or 5 hours of typing code from the book, into the computer, and nothing spectacular happened! The light show wasn’t a light show, there were lines being drawn on the screen!
Flash forward to the present! Technology has really grown, and now, I’m taking these awesome GameDev.TV courses and learning a lot of cool things about programming! This time, the lessons are much clearer and the graphics are totally cool!
I have always been fascinated with animation and video games, and I plan to use these platforms to make clean, family oriented entertainment. I also plan to revolutionize education and make it fun for everyone!