An inventory system can be tricky to achieve, especially if you are a beginner, so, for those of you that keep scratching their heads, here’s a tutorial on how to create not one, but two types of inventories.
Quick disclaimer; This tutorial is created with beginners in mind, if you are an intermediate programmer this might not be for you.
Let’s begin with the basic scenario: Our hero, Ben, woke up one day in a dungeon, fortunately for him there are two keys right beside him, but there’s a problem, he can’t pick them up.

To create a system that our hero Ben can use, we are going to need the following:
- Ben should be able to pick up the keys when touching them.
- An inventory that keeps track of the items picked and that can be saved between scenes.
- A way to save the inventory, Ben might need that second key later.
For this, we are going to need 2 scripts: One for the inventory and another one for collision detection.
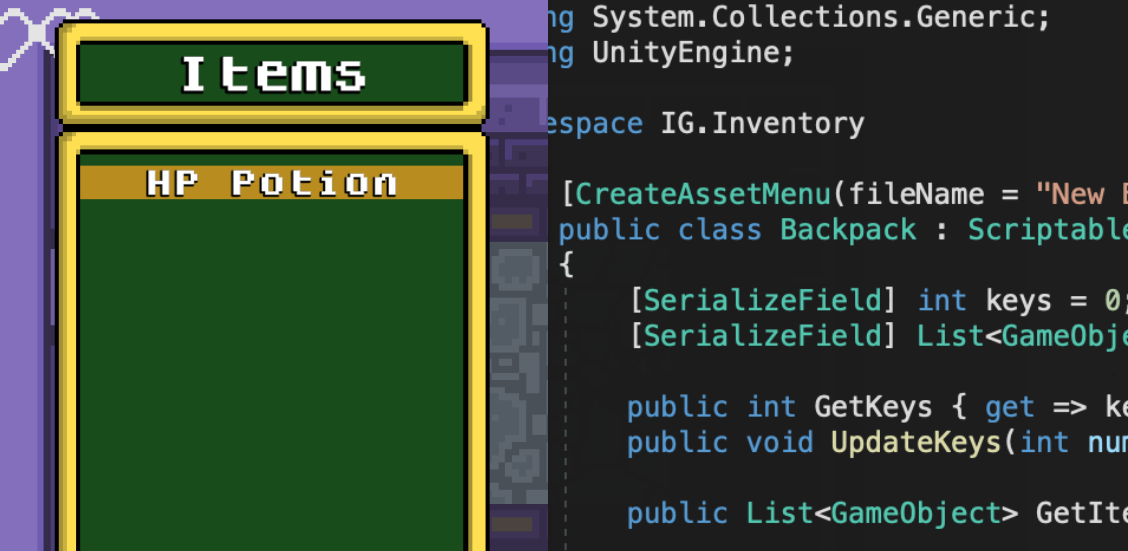
Creating an inventory that saves the collected items might seem like a daunting task, but there’s actually a very simple way to do it, Scriptable Objects are the perfect fit for this since they won’t reset after changing to another scene. In this case, we only need a few functions that allow us to modify and get the value of an int.
[CreateAssetMenu(fileName = "New Backpack", menuName = "Backpack")]
public class Backpack : ScriptableObject
{
    [SerializeField] int keys = 0;

    public int GetKeys { get => keys; }
    public void UpdateKeys(int numberOfKeys) { keys += numberOfKeys; }
}There's a change you haven't seen a getter like that before. What "GetKeys" is doing, is just returning the value of the variable keys, is quite simple. This type of coding is also known as syntactic sugar, is a way to achieve the same result with fewer letters.
Out backpack is ready, it will hold all the items and save them between scenes. Isn’t that great? Now, unto the next part: we need to create a script that allows us to pick up items.
public class Collector : MonoBehaviour
{
[SerializeField] Backpack backpack = null;
private void OnTriggerEnter2D(Collider2D collision)
{
if (collision.CompareTag("Item"))
{
backpack.UpdateKeys(1);
Destroy(collision.gameobject);
}
}
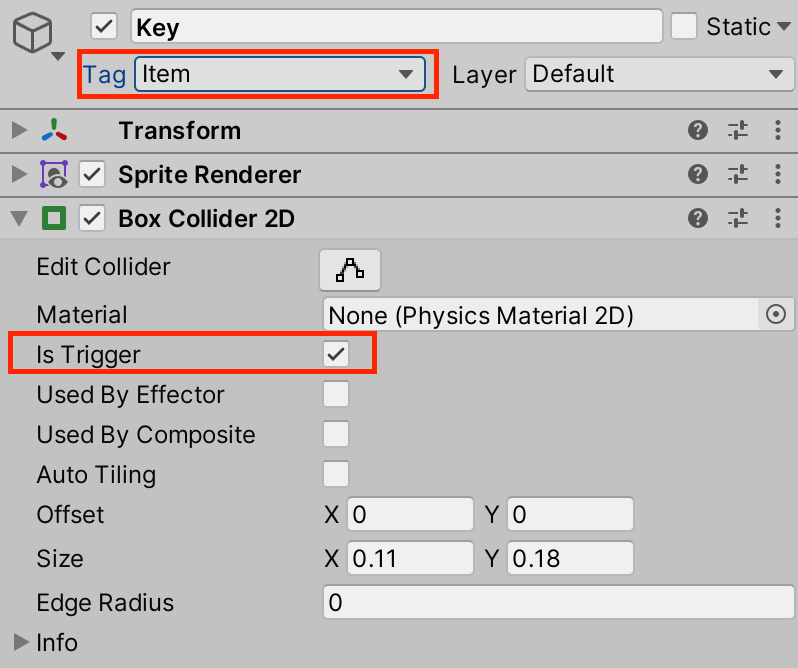
}We need to compare the tag so it doesn't gives us a key everytime the character crashed into some trigger. Don’t forget to set up everything we need, like the new tag and the colliders in our objects.
That’s it! Our inventory is ready to go and Ben was able to pick the keys! Let’s find out what is waiting in the next room for our hero.
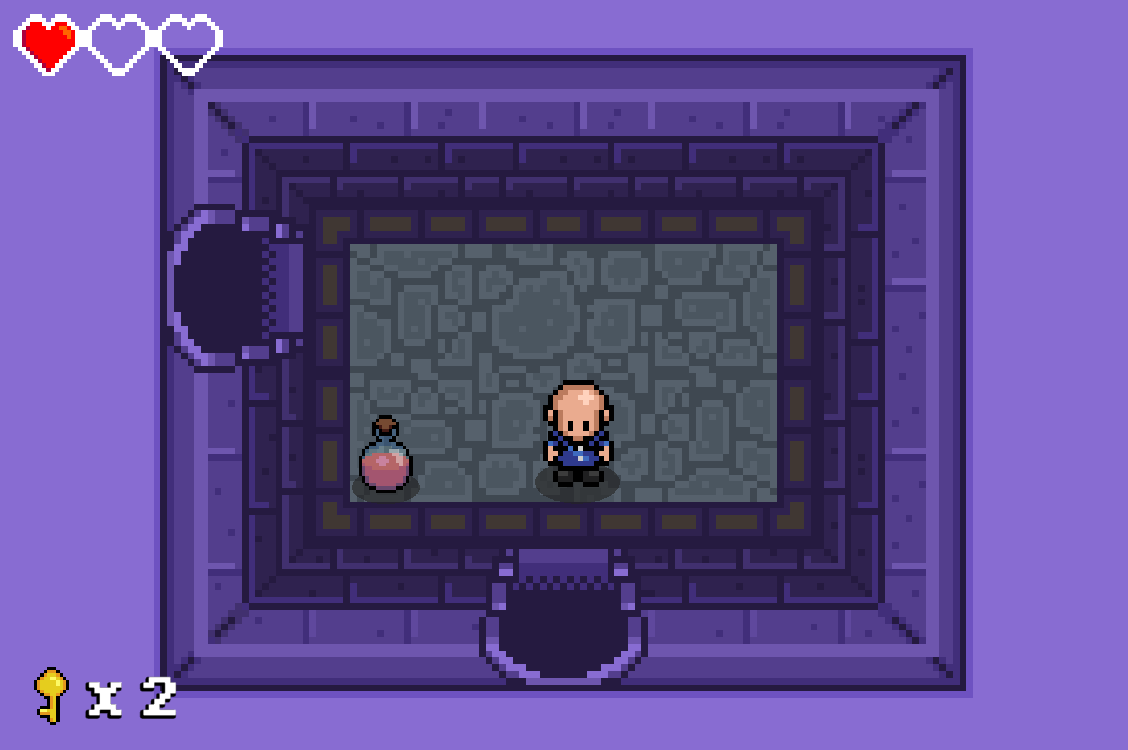
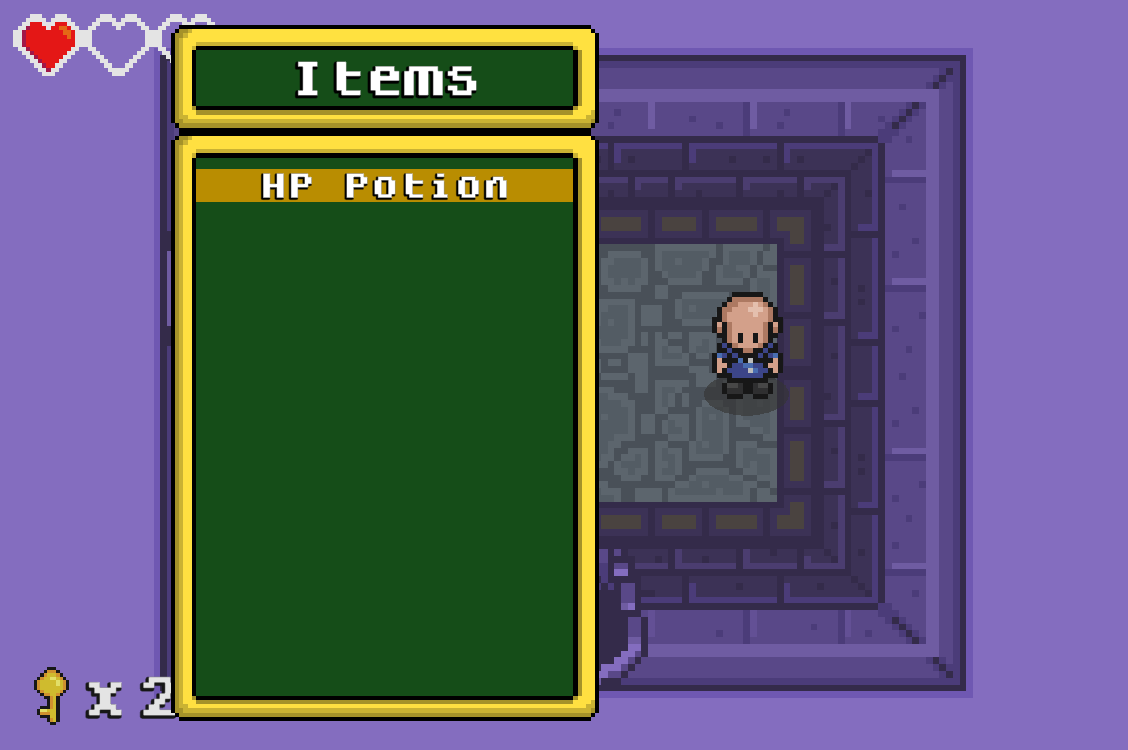
It’s Ben’s lucky day! A potion! But, he cannot grab it, Isn’t that sad? Let’s upgrade our inventory for Ben so he can pick up all sorts of items and use them. First, we need a Pause System, you can click on this link to know how to implement one.
To pick up items and use them we are going to need several scripts, some prefabs, and a little creativity. Let’s make a list of everything.
- A script that allows Ben to recognize what kind of items he’s picking up.
- Prefab button to fill that menu.
- We’ll need to make some modifications to our backpack so it can pick save all sorts of items.
Let’s start with the new backpack. We need a generic list that saves all sorts of items, but, we don’t want keys to appear on the menu, we can’t put them together, we’ll need to keep that distinction, imagine this like pockets, in the left pocket Ben will keep his keys, and in the right one his potions. Add the following lines to the Backpack script.
public class Backpack : ScriptableObject
{
    [SerializeField] List<GameObject> items = new List<GameObject>();

    public List<GameObject> GetItems { get => items; }

    public void AddItem(GameObject itemToAdd) { items.Add(itemToAdd); }
}
The use of game objects instead of something else might seem like a weird choice, but there's a reason for that, to populate the Items menu we'll need buttons, which come in form of prefabs, we'll have to populate the menu each time we change scenes (unless you use a singleton), or at least once each time the game loads, so we need the information on the buttons the player accumulated.
Now we need a button that fits our Items menu, I’ll leave that up to you since our games are probably not similar. Just remember, once created, save that new button as a prefab and name it in any way you want depending on the item you are designing, in my case, my button is called “HPPotion_btn”. Those last three letters <btn> stand for button, using three letters as a form of abbreviation is a good way to keep your names short yet organized, “btn” is a very common one you’ll find in pretty much every game.
For the next part, we’ll need a way to define which kind of item the object is, Is it a key? Or a consumable item? Like a potion. Create a new script and attach it to the Potion and Keys. Don’t forget to set the type later in the inspector.
public class Itemizer : MonoBehaviour
{
    [SerializeField] bool isAKey = false;
    [SerializeField] GameObject uIButton = null;

    public bool GetIsAKey { get => isAKey; }
    public GameObject GetButton { get => uIButton; }
}
In this case we only need to know if the item is a key or not, we don't need any more distinctions than those, in case you need them for any particular reason, you could always use enums.
We are almost here, Ben now only needs to be able recognize which kind of items he's grabbing, that might get a little complicated, so the code for this is going to be a little long.
    private void OnTriggerEnter2D(Collider2D collision)
    {
        CheckIfITem(collision);
    }

    private void CheckIfITem(Collider2D collision)
    {
        if (collision.CompareTag("Item"))
        {
            GrabItemByType(collision.GetComponent<Itemizer>());
        }
    }

    private void GrabItemByType(Itemizer item)
    {
        if (item.GetIsAKey)
        {
            GrabKey();
        }
        else
        {
            GrabGenericItem();
        }

        Destroy(item.gameObject);
    }

    private void GrabKey()
    {
        backpack.UpdateKeys(1);
    }

    private void GrabGenericItem(Itemizer item)
    {
    	backpack.AddItem(item.GetButton);
}This code is quite long, so I'll break it down:
- Checks if the characters has collided with a trigger.
- We need to know if that trigger is an item, so we check.
- Grabs the item depending on the type.
- Two methods, one for each type of item. Why I'm doing that when there's only one line of code? I explain that at almost the end of the tutorial.
If you have many different types of items then I'll recommend you use a Switch statement, it might not be the best and most efficient way to do that, but for beginners, I think that's perfectly fine.
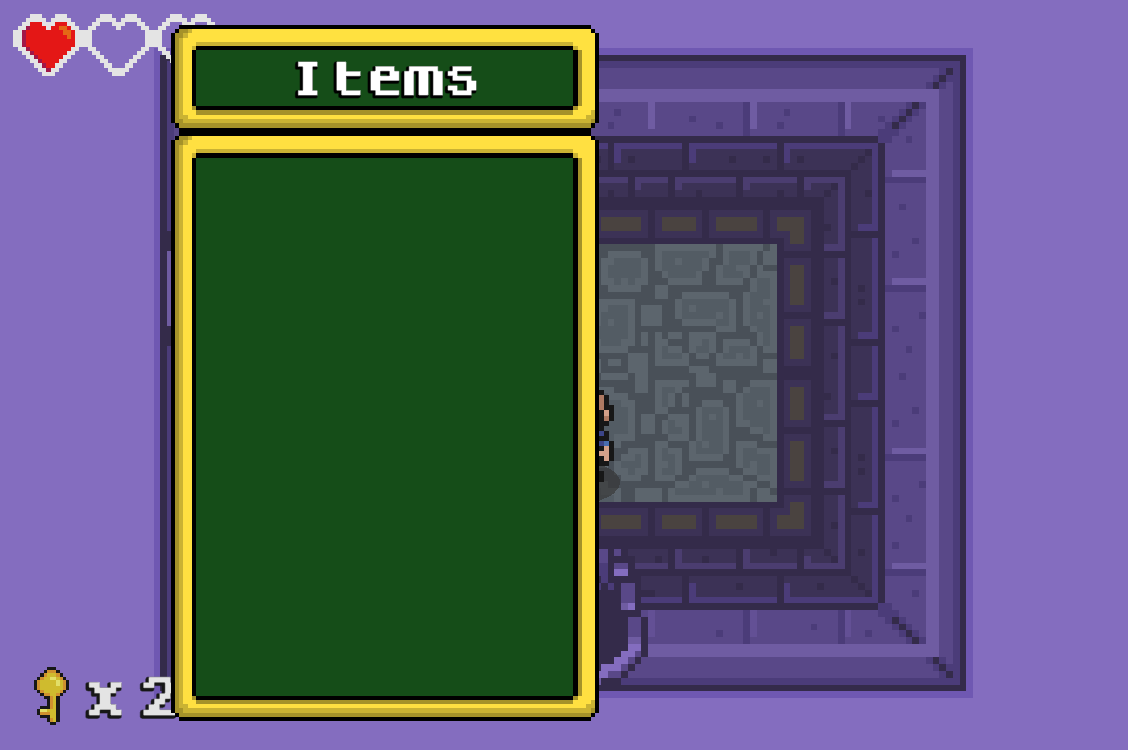
It's time for testing!
Great! Now Ben can actually pick up items of different types and save them in different pockets, but, wait, this is not how it's working in your game, there's something missig, yes, the UI, that's why we wrote two different methods when grabbing items, we need to update the UI in two different ways, but this tutorial is already way too long, so I'll make a Part 2 covering UI and how to actually use the items, this will with some free 2D assets for you to enjoy.
See you in the next one!