
As an Animation & Art Director, I'm always looking for better ways to help my team complete their job faster, with less stress. In this blog I'll cover how to use 3D, to help you get better results in your 2D productions.
Getting Everyone on the Same Page
One of the major problems of working with a team of animators, is trying to get everyone to understand what you and the designers want. One of the best ways to do this is with a character maquette (a clay sculpture of the character). This gives them a complete 360 degree view of the character's design, down to the little details.
Distance is a Challenge!
What do you do when you are working with a team that is virtual, and which is spread out, across the globe? You can't send the maquette to them, and it would cost a lot of money to ship it to them, even if you had duplicates. The solution is to make a 3D character maquette in Blender!
It's Worth it to Make the Maquette!
As an artist, I can't stress how important it is to have a subject to look at, while I'm drawing. It helps me get the proportions and details, from all angles, correct, so that my work looks professional and nice. The drawings, which will be used in the animation slides, will have the correct proportions and appearance, throughout, and this will set your work apart, and bring it to a new level. This will impress your customers.
Let's Make it Easier
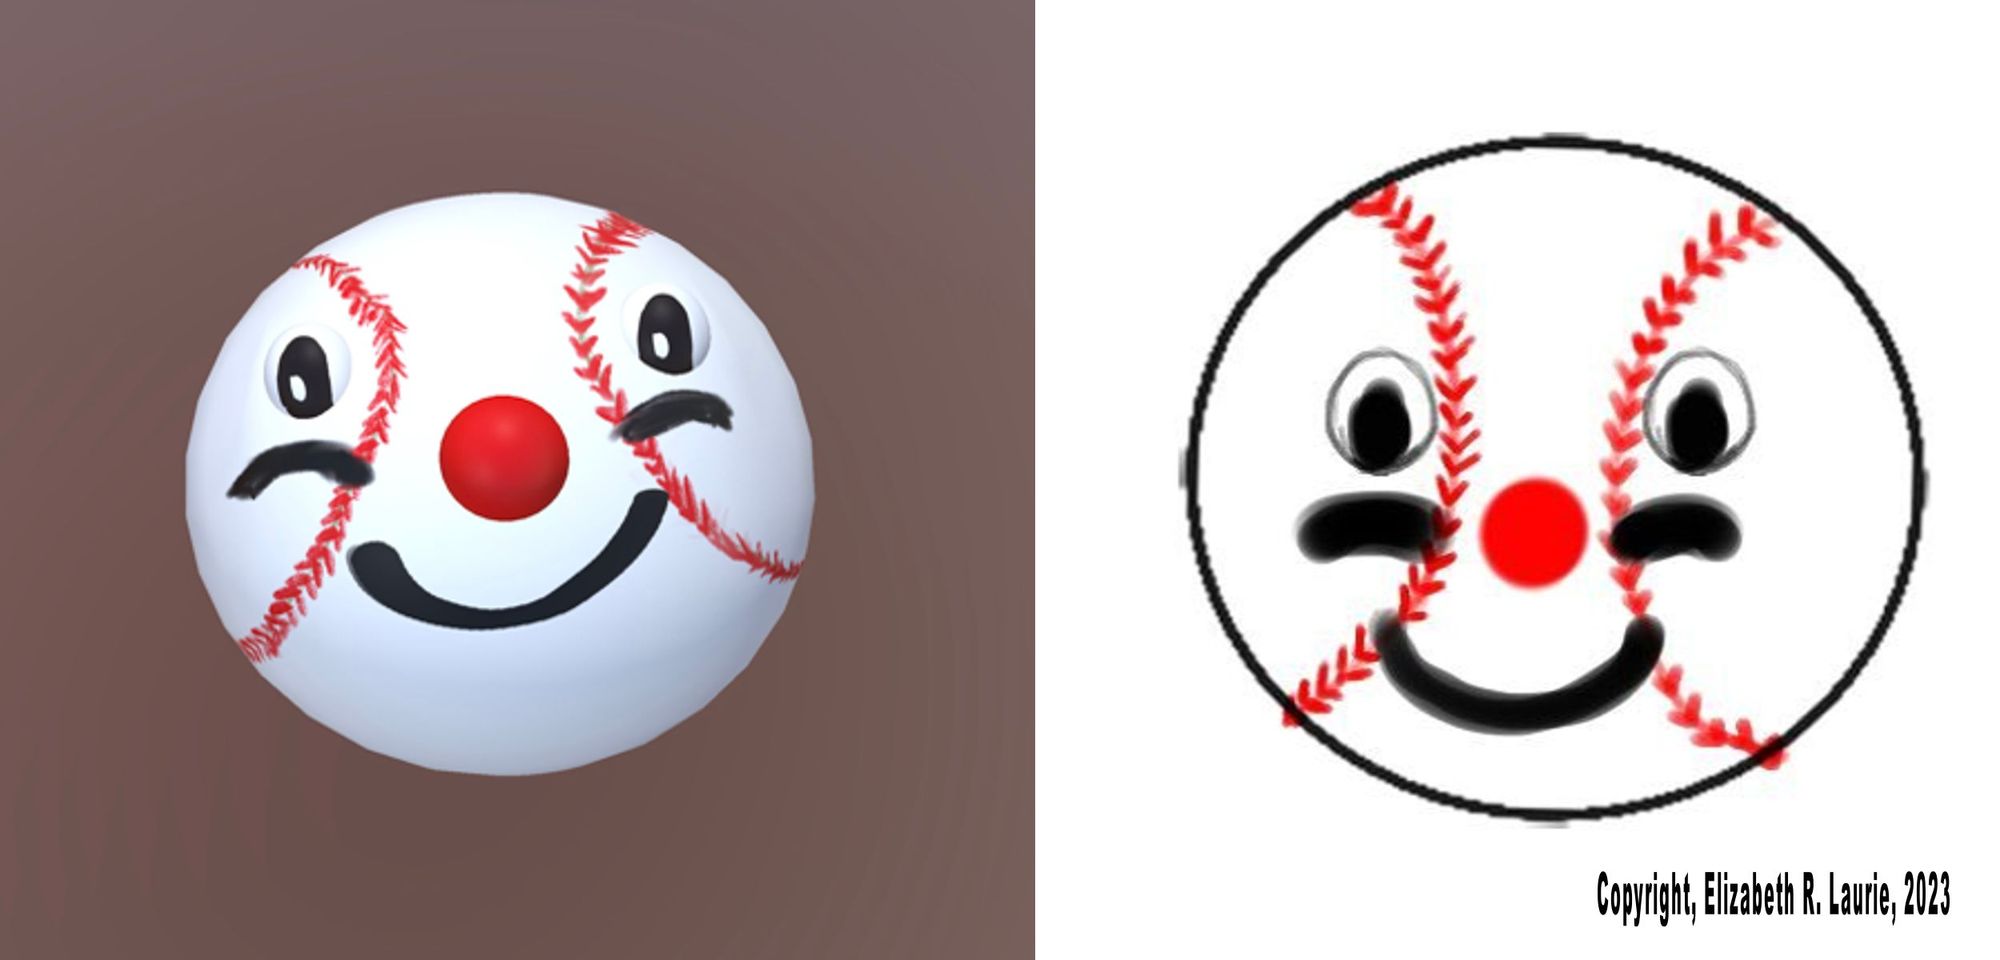
You can use the 2D character concept art as a guide, by importing it into Blender, and this will make it easier to build an accurate 3D model. Also, rigging is much easier with Blender's Riggify, auto-rigger. Once the model is complete, you'll be able to pose the character and take screenshots and make still renders.
Also, remember to save different versions of your 3D models at different points, such as, before rigging, so you can go back to a previous version, if something goes wrong.
Keep it Low Poly
You'll want to keep the model's poly count around 1,000 to 1,500 polygons. This will make the model viewable on cell phones and desktop PC's and make it usable for every member of your team.
Other Benefits
Having a 3D model is great, because you can convert your characters and games to 3D, later, when you and your team are ready. Also, the 3D models can be used for 3D printing. Blender has an add-on called 3D Print Toolbox, which will help you prepare your 3D models, and you can read about it here:
https://docs.blender.org/manual/en/latest/addons/mesh/3d_print_toolbox.html
I Recommend These Courses!
I highly recommend GameDev.TV's Complete Blender Creator Course, which is taught by our excellent instructor, Grant Abbitt! Here's the link to the course page: https://www.gamedev.tv/p/complete-blender-creator-3-2-learn-3d-modelling-for-beginners/?coupon_code=WOWZER
Further down the road, if you want to dive completely into Blender and do in-depth 3D model building, I recommend this course bundle, from GameDev.TV:
https://www.gamedev.tv/p/advanced-blender-artist-bundle-1
I have enjoyed talking to you about 3D Character Maquettes! Have an awesome day! See you next blog!

About the Author
My name is Elizabeth R. Laurie, and I've been with GameDev.TV since 2015! I'm one happy student and blogger! I started my journey into art, when I was about 6 years old, and I'm still learning, today! I've studied 3D animation, 2D sketch art, and I'm currently studying video game development! I'm going to make learning family friendly and fun!