In this post I’m going to assume you’re already familiar with the Blueprint tools for UMG (Unreals UI framework). These are definitely the best way to go about designing you interfaces. Who wants to be doing that in C++?
But there are good reasons to be using C++ for the logic driving your UI: version-ability, performance or just preference. How can we seamlessly bind our clean, performant C++ to the beautiful UI design created by the editor? This post outlines the tips and tricks I’ve learnt.
Basic setup
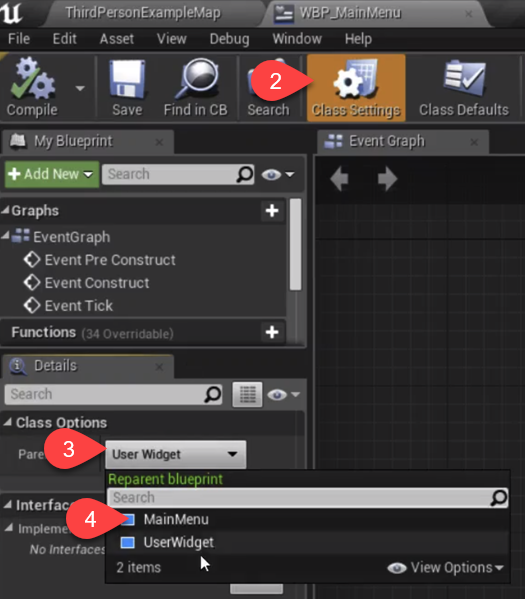
The first thing I suggest you do: make a C++ parent class, it can be empty to begin with but you’ll need to derive from UUserWidget. Then we can go along and re-parent the Blueprint widget to this C++ class. 
If this seems familiar, good. It’s very common to setup a Blueprint child with a C++ parent. It allows us to put a designer friendly skin on a C++ core. That’s what we’re doing here after all, just as we might with an Actor or Pawn.
Creating a Blueprint Widget from C++
You may not want to load you widgets from C++. This is a task commonly accomplished in the Level Blueprint. However, if you do, you’ll need to spawn an instance of the Blueprint class not the C++ parent (even though you will be able to down cast it to the C++ type).
To do this, make use of the FClassFinder from "UObject/ConstructorHelpers.h". Here’s how it’s used:
ConstructorHelpers::FClassFinder<UUserWidget> MenuClassFinder(TEXT("/Game/MenuSystem/WBP_MainMenu"));

TSubclassOf<class UUserWidget> MenuClass = MenuClassFinder.Class;
You can replace the template argument with the parent C++ parent class or anything up the hierarchy (UUserWidget in my example). As the name suggests, class finding should be done in the constructor to make sure cooking the project goes smoothly. Store this class as a member variable. I like to do this setup on the GameInstance.
Notice MenuClass contains the class not an instance of it. We still need to instantiate. To do this we need CreateWidget from “Blueprint/UserWidget.h”.
UMainMenu* Menu = CreateWidget<UMainMenu>(this, MenuClass);
Notice that this template argument can be different from that of the FClassFinder. It will obviously cause a run-time error if MenuClass isn’t a sub-type of UMainMenu.
Widget Setup
This can done in a Setup function on the widget itself. Nice and neat:
void UMenuWidget::Setup()
{
    this->AddToViewport();

    UWorld* World = GetWorld();

    APlayerController* PlayerController = World->GetFirstPlayerController();

    FInputModeUIOnly InputModeData;
    InputModeData.SetWidgetToFocus(this->TakeWidget());
    InputModeData.SetLockMouseToViewportBehavior(EMouseLockMode::DoNotLock);

    PlayerController->SetInputMode(InputModeData);

    PlayerController->bShowMouseCursor = true;
}
Three main steps here:
- Adding the widget to the viewport.
- Setting up the input mode (here it’s UI only).
- Showing the mouse cursor.
Point two could do with a little more coverage. Notice we create a type FInputModeUIOnly. If you look at it’s parent (FInputModeDataBase) you can find the full list of possible modes:
- FInputModeGameAndUI
- FInputModeGameOnly
- FInputModeUIOnly
These are the modes you might be familiar with in Blueprint. Each has it’s own unique config options so do check them out. Yet another extra nicety from C++.
Finally, note the funny looking this->TakeWidget(). This is because we need and SWidget or Slate widget here. This is the underlying widget to our UUserWidget. TakeWidget() get’s it or creates it. Good to know!
Getting to your Blueprint widgets
So now you have a parent class but you actually want to set the values of some widgets. Maybe update the text, enable a button or bind an action.
This actually couldn’t be easier. All you need to do is:
- Find the widget’s base class
- Bind the widget
- Access the widget from the pointer.
So you can probably do 1 and 3. What about 2? Simply create a UPROPERTY with the correct incantation.
UPROPERTY(meta = (BindWidget))
class UButton* OkayButton;
Automagically the button will be linked to a widget of the same name in the UMG editor. Okay, this is effectively a string reference but the UMG will fail to compile if you don’t have a widget in your hierarchy so it’s pretty hard to get wrong.
That said, you can make the binding optional with BindWidgetOptional instead. But don’t forget to null check!
Binding callbacks
You want to execute things when your buttons are pressed? No problem. Want to know when the player updated a text field? Easy.
Where’s BeginPlay? Widgets have no BeginPlay :(. But never fear, all you need to do is override
Initialize(). This is called after the widget is constructed. I’m sure you can figure it out ;). Most UMG widgets use the pretty standard Dynamic Delegate system to setup callbacks. If you’ve used these before, you probably know what to do. Here’s a recap: 1. Find the event you want to subscribe to (e.g. OnClicked), 2. Create a C++ function you want to call and 3. Bind:
OkayButton->OnClicked.AddDynamic(this, &UMainMenu::BeginGame);
Simple.
Following along with the Unreal C++ Course?
If you’re following the Unreal C++ Course how do we apply this to the PlayerUI blueprint and transfer it to (mostly) C++?
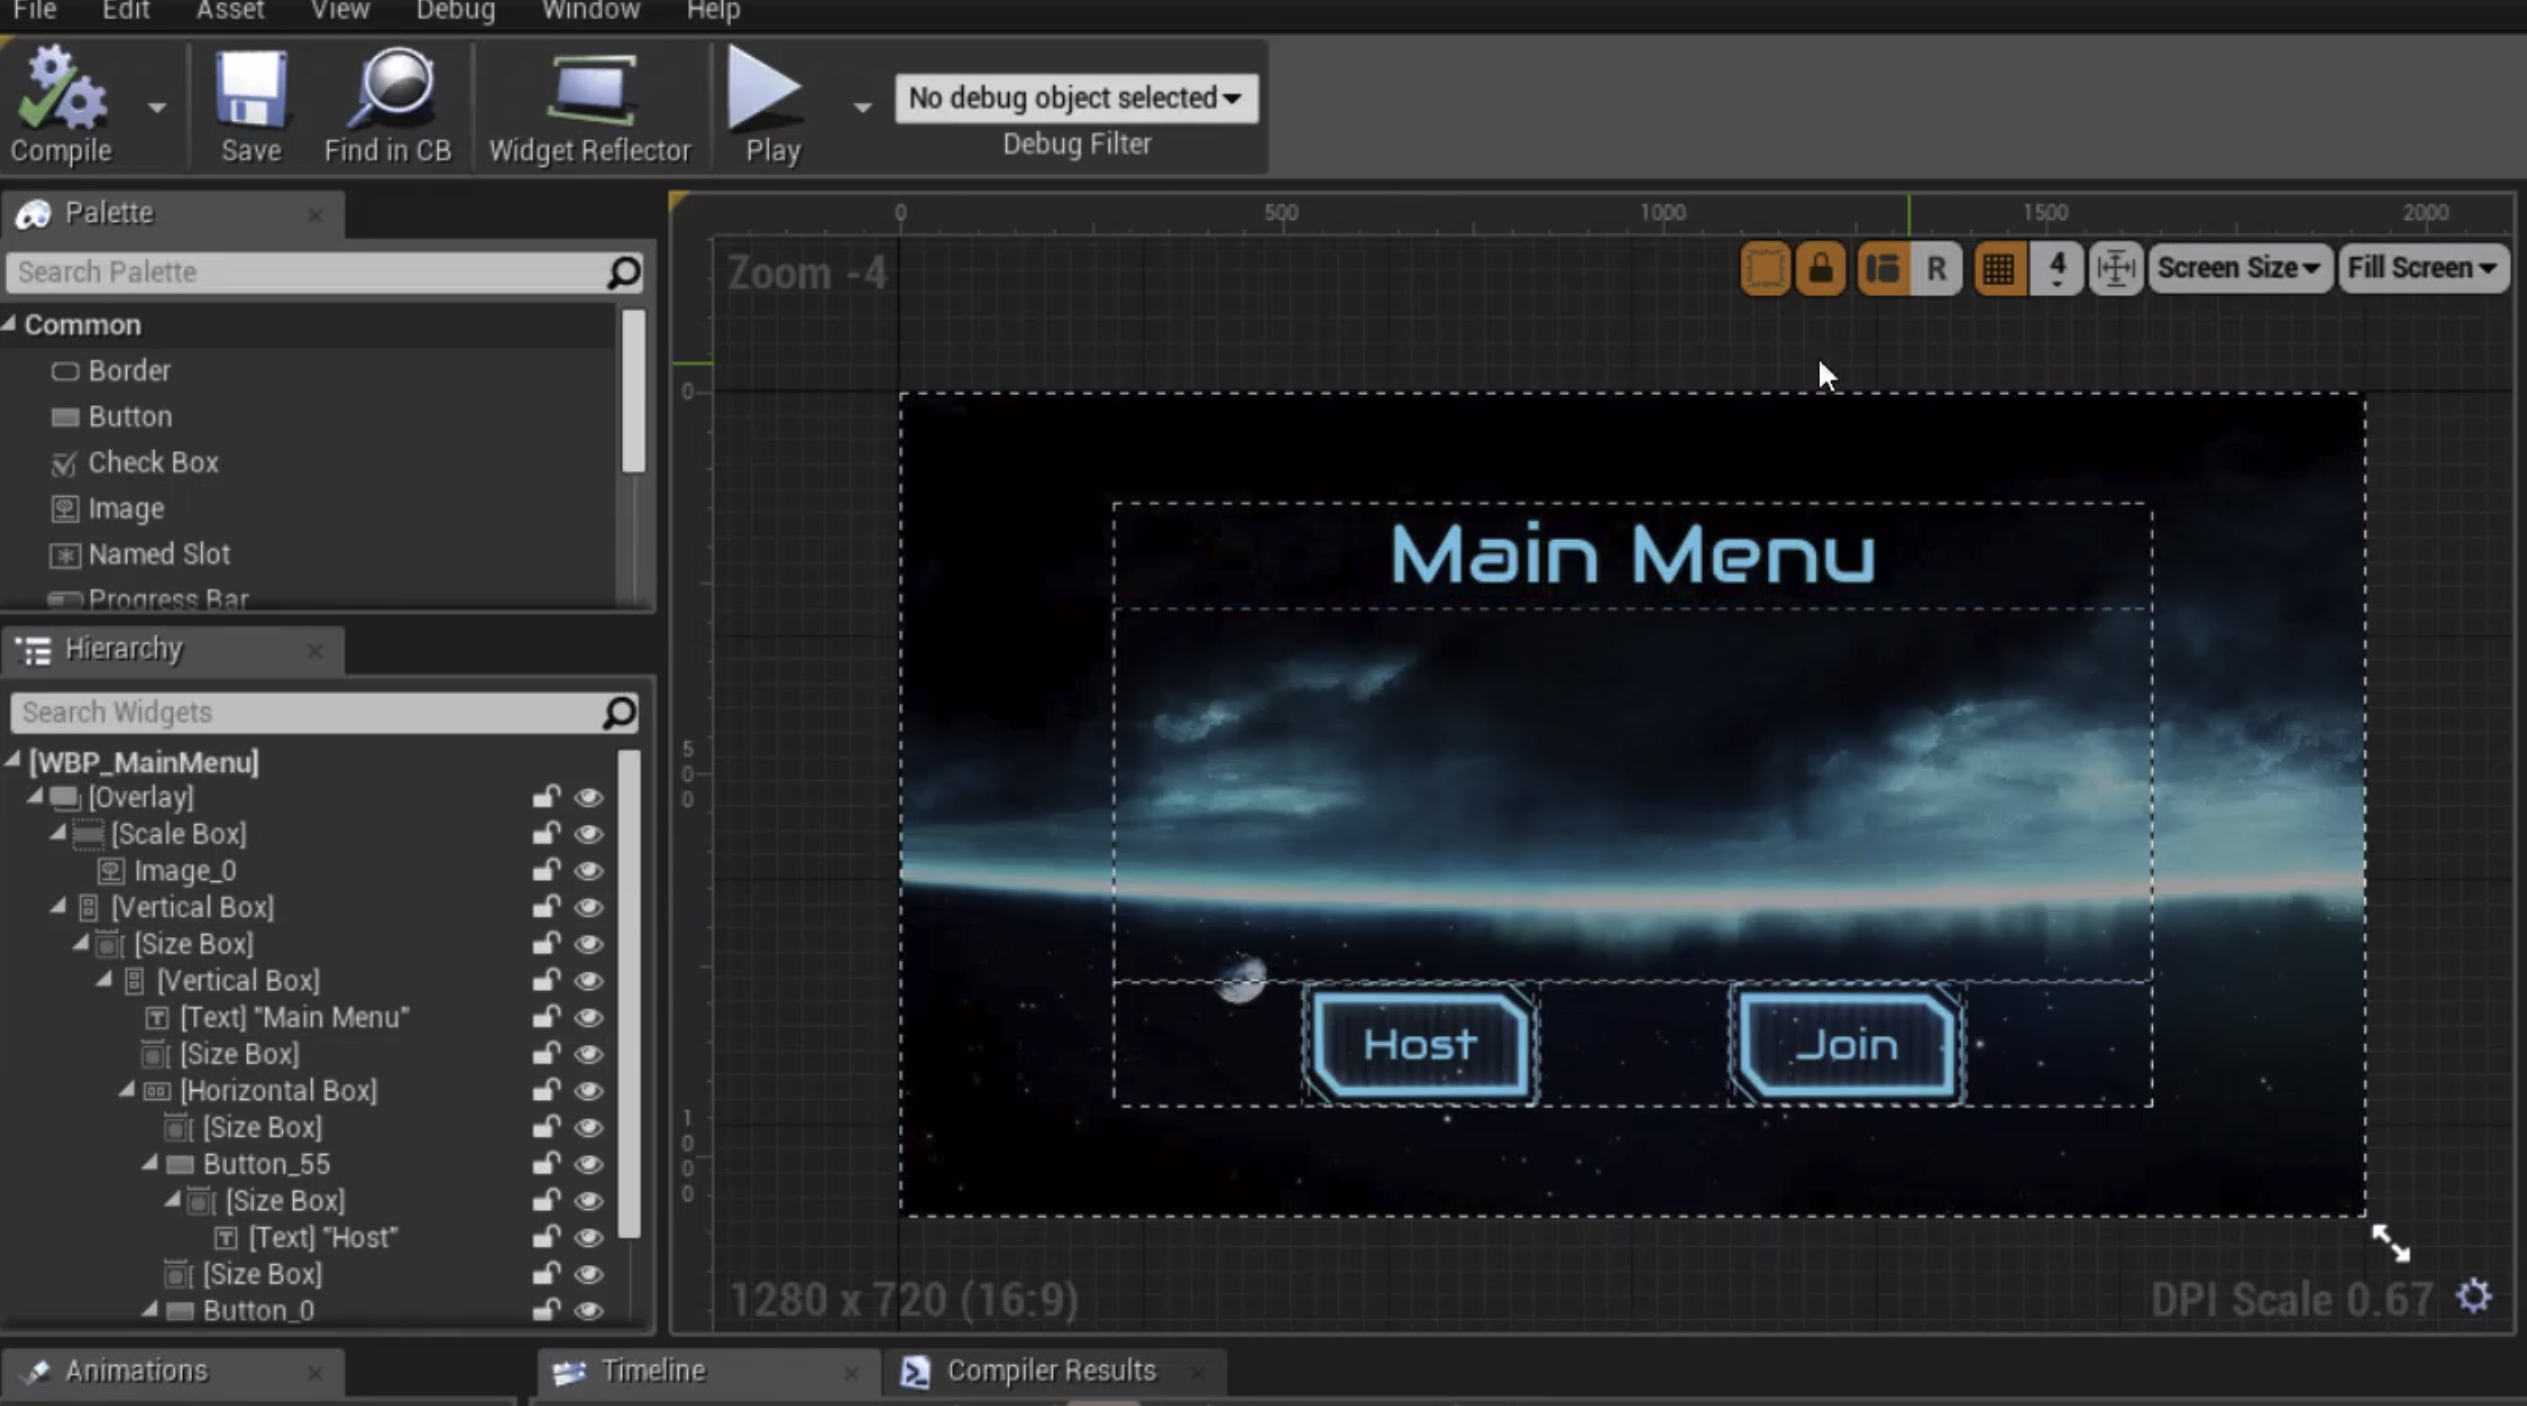
Well our blueprint has a Panel, Image, and a TextBox so just create the following class (don’t forget to make sure the names match!).
UCLASS()
class BATTLETANK_API UPlayerUI : public UUserWidget
{
    GENERATED_BODY()
    UPROPERTY(meta = (BindWidget))
    class UCanvasPanel* Panel;
    UPROPERTY(meta = (BindWidget))
    class UImage* AimPoint;
    UPROPERTY(meta = (BindWidget))
    class UTextBlock* AmmoText;
};
And if you want to add it to the viewport in the C++ TankPlayerController instead of blueprint you just need to add the following to the header for ATankPlayerController.
TSubclassOf<class PlayerUI> PlayerUIClass;
class UPlayerUI* PlayerUI;
The PlayerUIClass variable is the PlayerUI_BP blueprint class we previously made. Whereas the PlayerUI variable is the instance of the UI that we will be adding to the viewport.
Then you’ll need to create a constructor and use ConstructorHelpers as described at the beginning of this article to set the PlayerUIClass variable which I’ll leave as an exercise to the reader.
Then you just need to add it to the viewport in ATankPlayerController::BeginPlay()
PlayerUI = CreateWidget<UPlayerUI>(this, PlayerUIClass);
PlayerUI->AddToViewport();
You could then move over the AimingComponent reference from blueprint to C++. Just create a variable in the UPlayerUI class and add a setter then call it from the TankPlayerController.
More cool UI stuff…
Thanks for reading to the end of the post. I hope you learnt something of value from it. Let me know in the discussions.
This content was summarised from one small segment of our Unreal Multiplayer course over on Udemy. That course uses this info to build out a full lobby and server list for multiplayer games.
Apart from UI, graduates of that course will be able to:
- Gain a fundamental understanding of the challenges of networking (e.g. latency, packet drop, NAT traversal, etc).
- Understand the architecture of Unreal’s Multiplayer features.
- Be able to connect game instances over local networks.
- Use the Steam plugin and APIs to connect players over the internet.
- Architect your games to avoid cheating.
- Communicate between machines using RPC and property replication.
- Build lag compensation systems for custom movement systems.
- Understand how to read engine code to clarify API usage. If you’re interested you can
use our special blog coupon to get the course for over 90% off!